
Many clubs produce shaft labels for members and guests with their contact information. Clubs may also find it beneficial to make labels for demo/rental clubs. You can create shaft labels in Golf Shop using our Page Composer.
In this article, we will discuss:
Shaft label templates
How to create member shaft labels
Printing labels
Quick printing of member and guest shaft labels
For details about printing labels for other features (i.e., demos, rentals, club repairs), Click Here.
Shaft Labels Templates
You will find that several system shaft label templates are already created in the Report Center. Go to Report Center > Page Composer. Four templates have been created for you:
Greenbriar 10 Labels
Greenbriar 14 Labels
Greenbriar - Laser
If one of these shaft labels meets your needs, you can print labels using that shaft label. If the label meets your needs, but needs some adjustments to the dynamic fields or layout, you can click "Copy for that particular shaft label (as shown below) and customize it. For more details about editing labels using Page Composer, Click Here.

Alternatively, you can create new label reports using the Page Composer for other paper types (e.g., Greenbriar).
Creating New Shaft Labels
To print shaft labels, a label report must be created for each label type. To ensure you are capturing the appropriate details on your labels, separate reports should be made for:
Members/Guests
Creating Member/Guest Shaft Label Report
To create member shaft labels:
Go to Report Center > New Report > Page Composer.
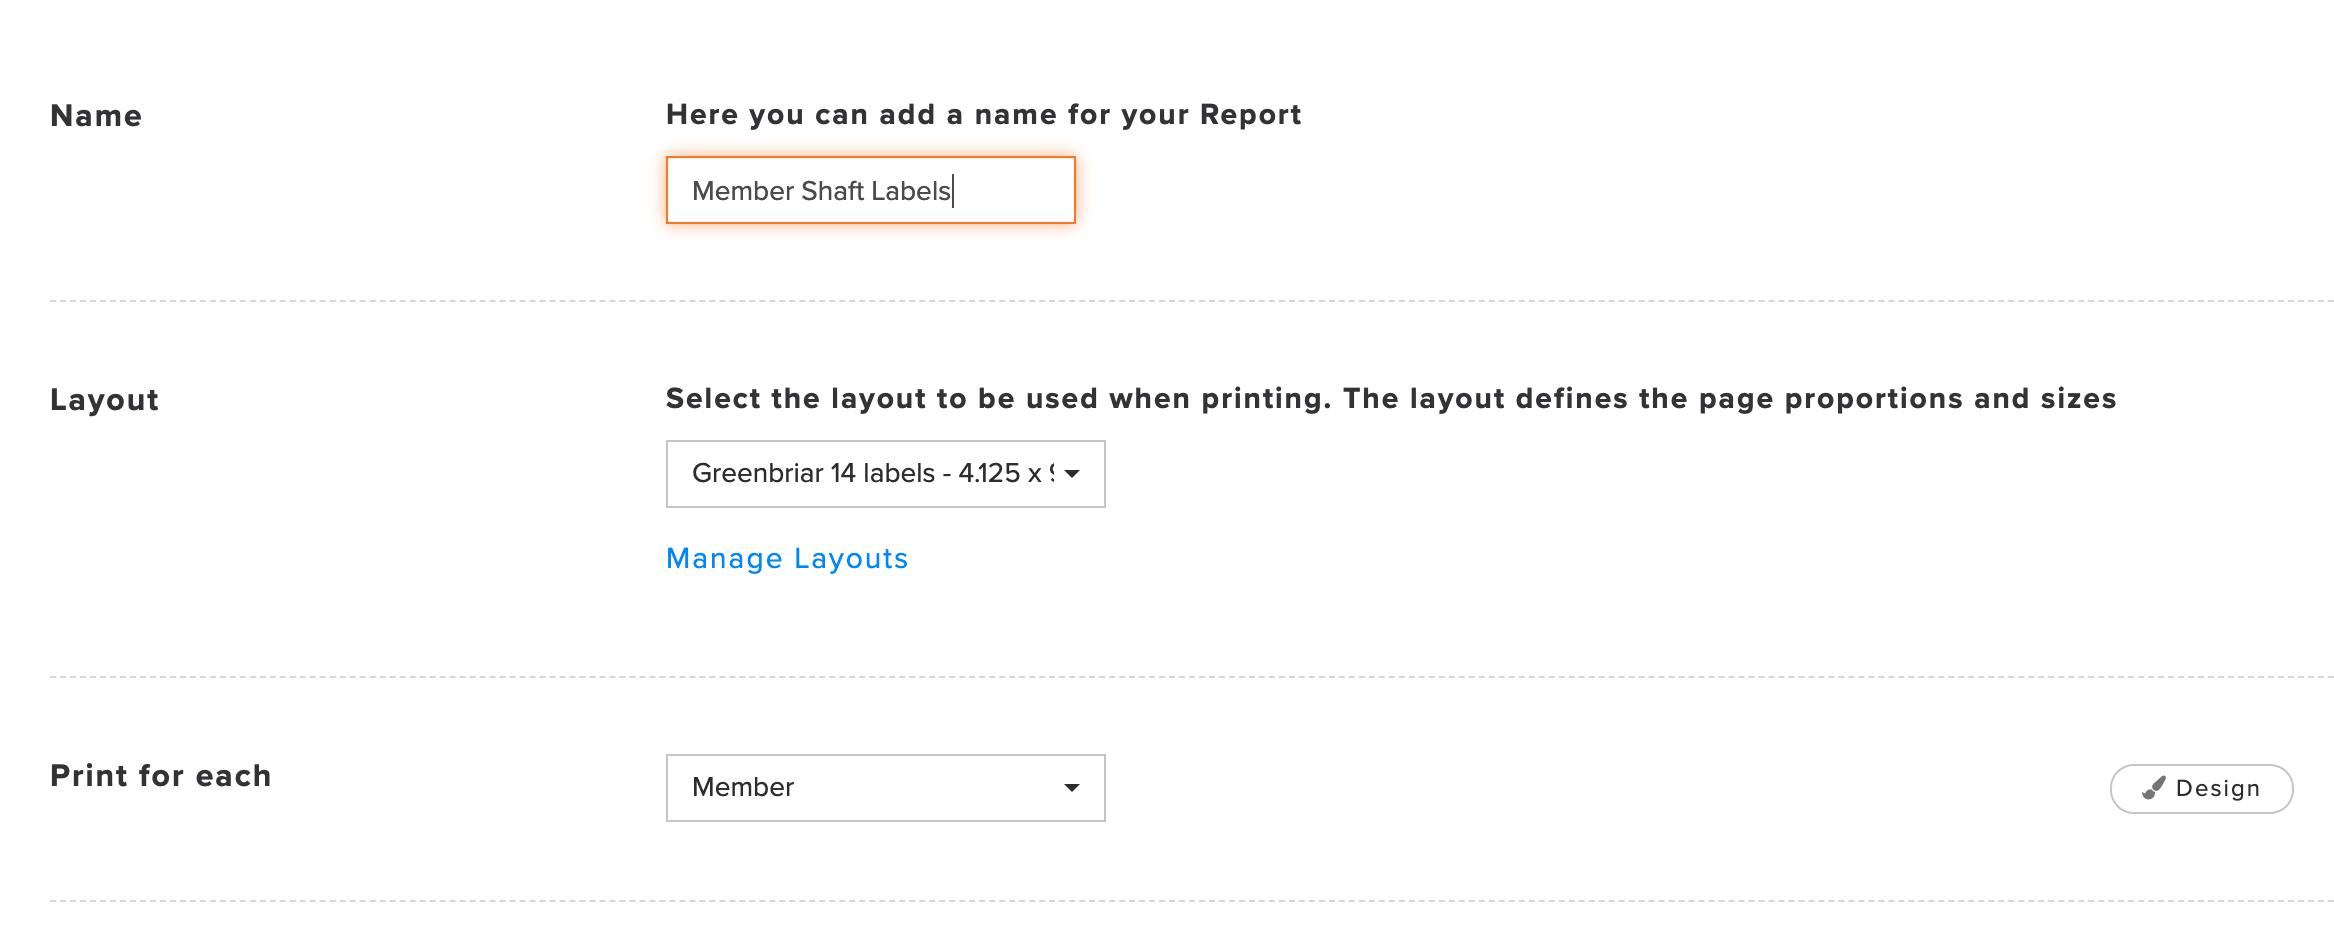
Name the Report "Member Shaft Labels."
Select the Layout. If the proper layout is not available, you can create one. For more details on creating/managing layout, Click Here.
Print for each "Member."

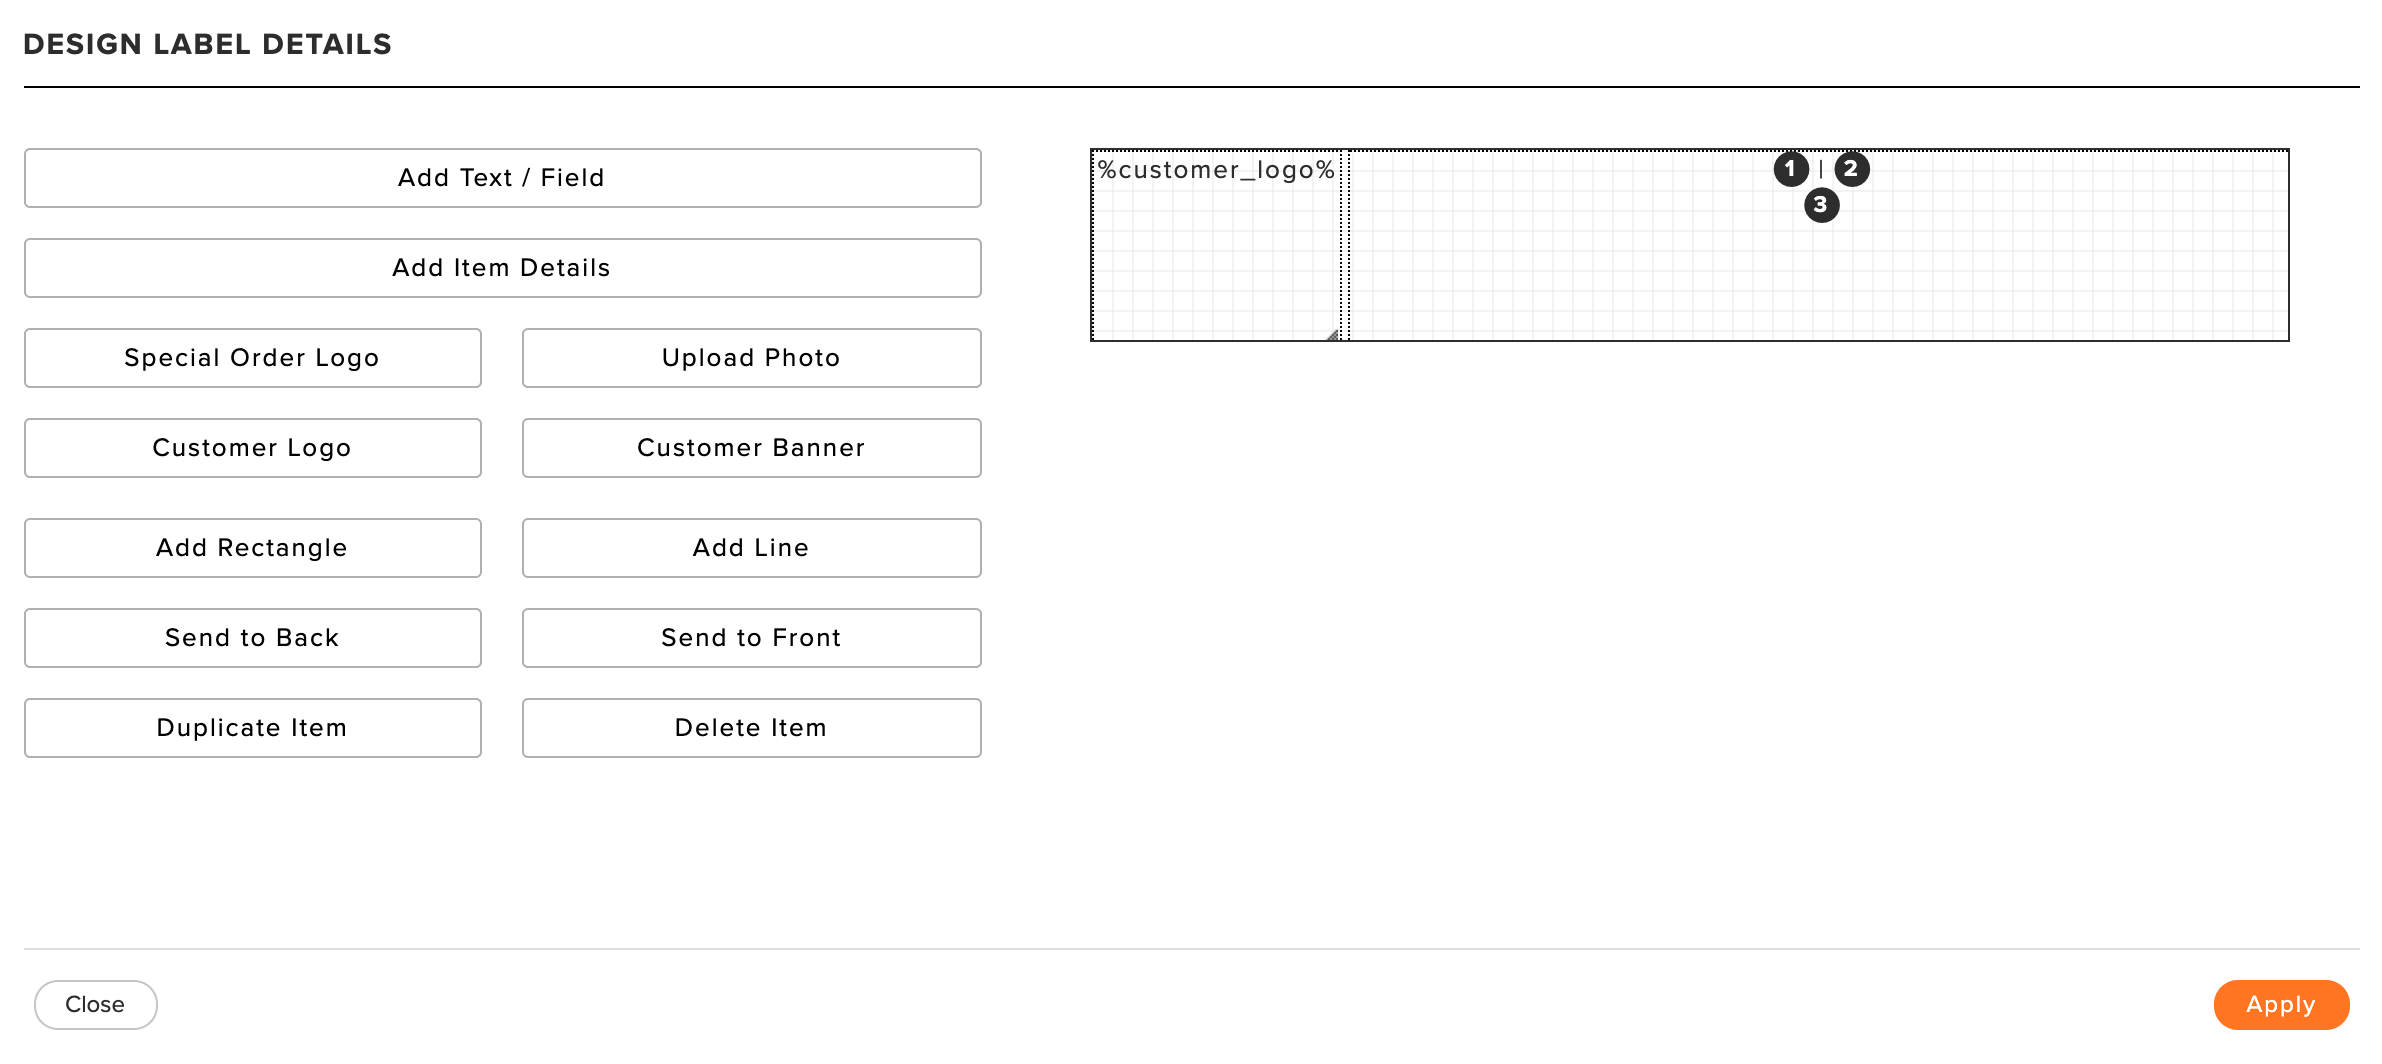
Design the content for the labels. This might include adding a club logo, club phone #, member name, and any other dynamic fields you wish to display (as shown below).

Click "Save."
Printing Shaft Labels for Members
Now that you've created shaft labels for members, you can print the labels.
To print your labels:
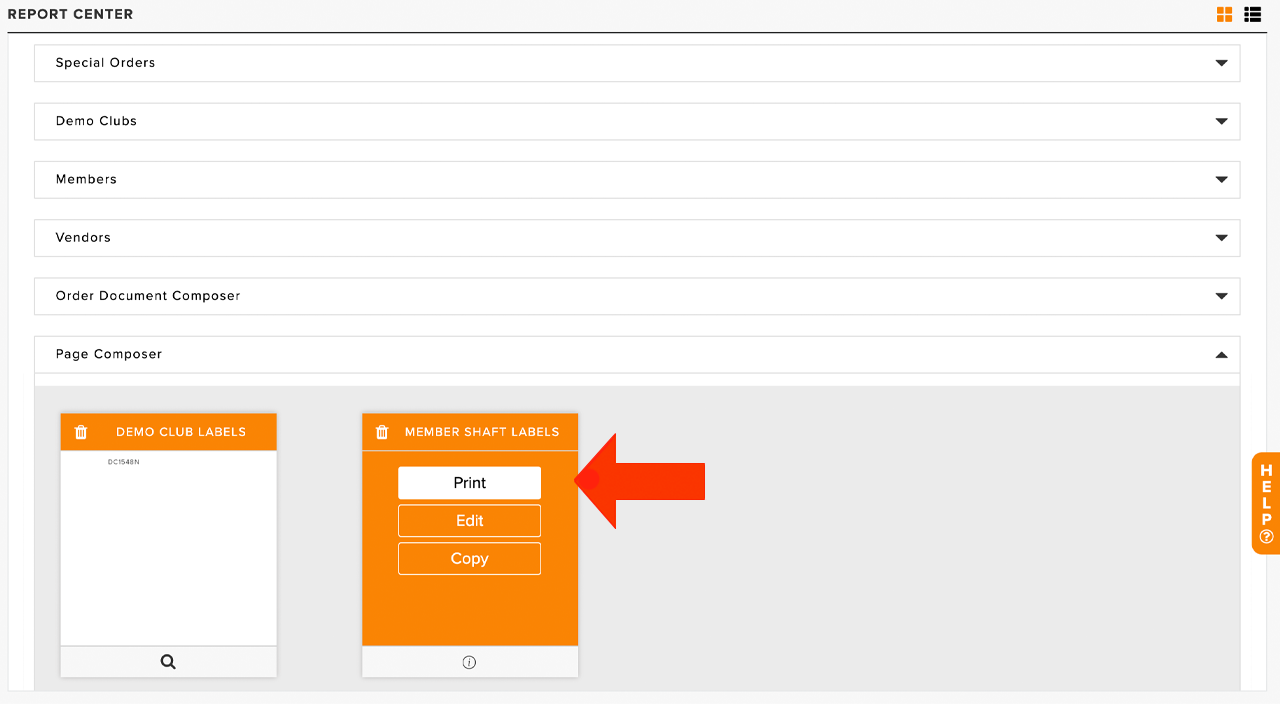
Go to Report Center > Page Composer > Print the report you need, shaft labels from (as shown below)

Select the Members or Inventory Clubs to print labels for. You can select multiple members to be printed at the same time.
Set the number of copies each member needs. This is the number of copies that will be printed for each member selected in the previous step.
Select your starting row and column if you have a partially used label page you will be printing on.
Click "Download" (as shown below).

Quick Print Member Shaft Labels and Guest Labels
Once a default shaft label template has been designated, you can quickly print shaft labels for multiple members and guests directly from Services > Shaft Labels. For details on setting a default shaft label, Click Here.
Once a default shaft label is selected, follow these directions to quickly print member and guest shaft labels:
Navigate to Services > Shaft Labels (as shown below).

The Shaft Labels modal will open with one empty member row ready for search and a live label preview on the right showing a sample label with the club's information (as shown below).

Enter the following information:
Starting Point: If printing on a partially used label sheet, you can set a starting point so the new labels begin exactly where the unused stickers start. To set a starting point, follow these directions:
Select the row and column where printing should begin. The cells before the starting point will appear blank in the page layout preview (as shown below).

Customer: Select the Customer Type (Member or Guest) for the row.
Member: Enter the following information:
Member Name: Select the member from your member roster.
Additional Field: If additional fields are included in the label, they will be populated with the appropriate information (if available).

Guest: Enter the guest information into the available fields.

Print: Set the number of copies to print for the selected member or guest.
Multiple members and guests can be added together on the same label sheet in any combination. Click "New Customer" to enter the additional members' and guests' information (as outlined above). The page layout preview updates in real time to reflect how the labels will be arranged on the sheet (as shown below). Note: Labels print in the order they appear in the form.

Click "Download."
Click "Download PDF" and a PDF will be downloaded to your default download folder on your computer.