Member Profiles can be created (for the players in the Member Roster) to capture information for staff to see and utilize with Golf Shop. You can access these profiles from the Member Roster, while members can access their own profiles through Member Portals. With Member Profiles, we provide an enhanced layout with customer information organized in tabs and blocks that you can build on. Each Member Profile is organized with the following:
Profile Picture: Upload your members profile image.
General: Name, contact information, gender, birthday, etc.
Activity: Includes a log of the member's activity across all Golf Shop features (e.g., special orders, demo clubs, club repair, etc)
Notification Settings: Access and control the member's notification settings
Merchandise Preferences: A customizable tab that allows you to contain pertinent merchandising information (as shown below)
Other Custom Tabs: Create and design your own custom tabs with relevant and useful member information. To name a few:
In the Bag
Fitting Specs
Dropship Address
Dining Preferences
In this article, we will discuss how to set up and manage Member Profiles for members in your Member Roster.
Member Profile Setup
To configure your global member profile, go to Club Details > Members > Profile Setup (as shown below). The Profile Setup page has both a preview and edit mode, which can be switched using the "Preview/Edit" buttons on the bottom bar.

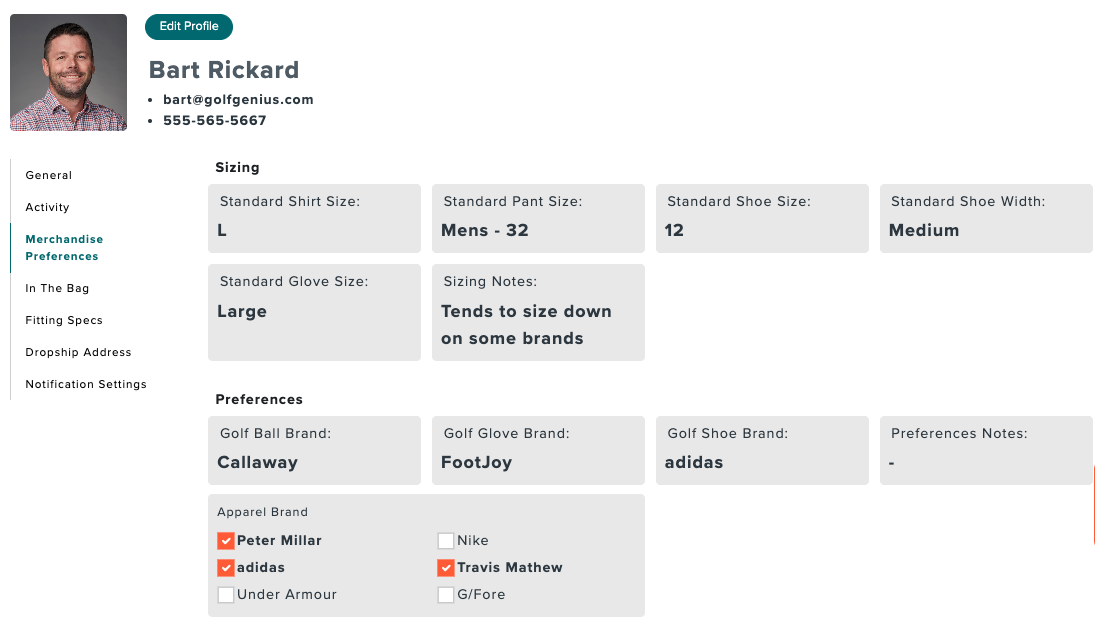
The profile can be broken down into the following components (as shown below):
Profile Header: Member Profile Pictures can be edited from their Profile and email and phone can be edited from the roster.
Tabs (Categories): Contains Custom fields in blocks.
Blocks: These can be used to create collections of custom fields in each tab.
Custom Fields: Fields that can be populated about your members.

In the example above, there are multiple tabs. Within the Merchandise Preferences tab, there are two blocks. Both blocks contain several custom fields of sizing and merchandise preferences.
You can find detailed instructions on designing and customizing your global member profiles below from the profile setup (Club Details > Members > Profile Setup).
Managing Tab
Depending on how you want to organize your global member profiles, you can start by managing your tabs. Tabs are a collection of your Member Profile Categories that allow you to organize information so that not all content is listed on one page. You will be able to take the following actions on your tabs from the setup page:
Change Sort Order
Hide/Delete Current Tab
Edit Tab Names
Add New Tabs
You can skip this step if you do not need to modify the tabs.
To manage existing tabs (e.g. Change Sort Order, Hide/delete, edit tab names), follow these instructions:
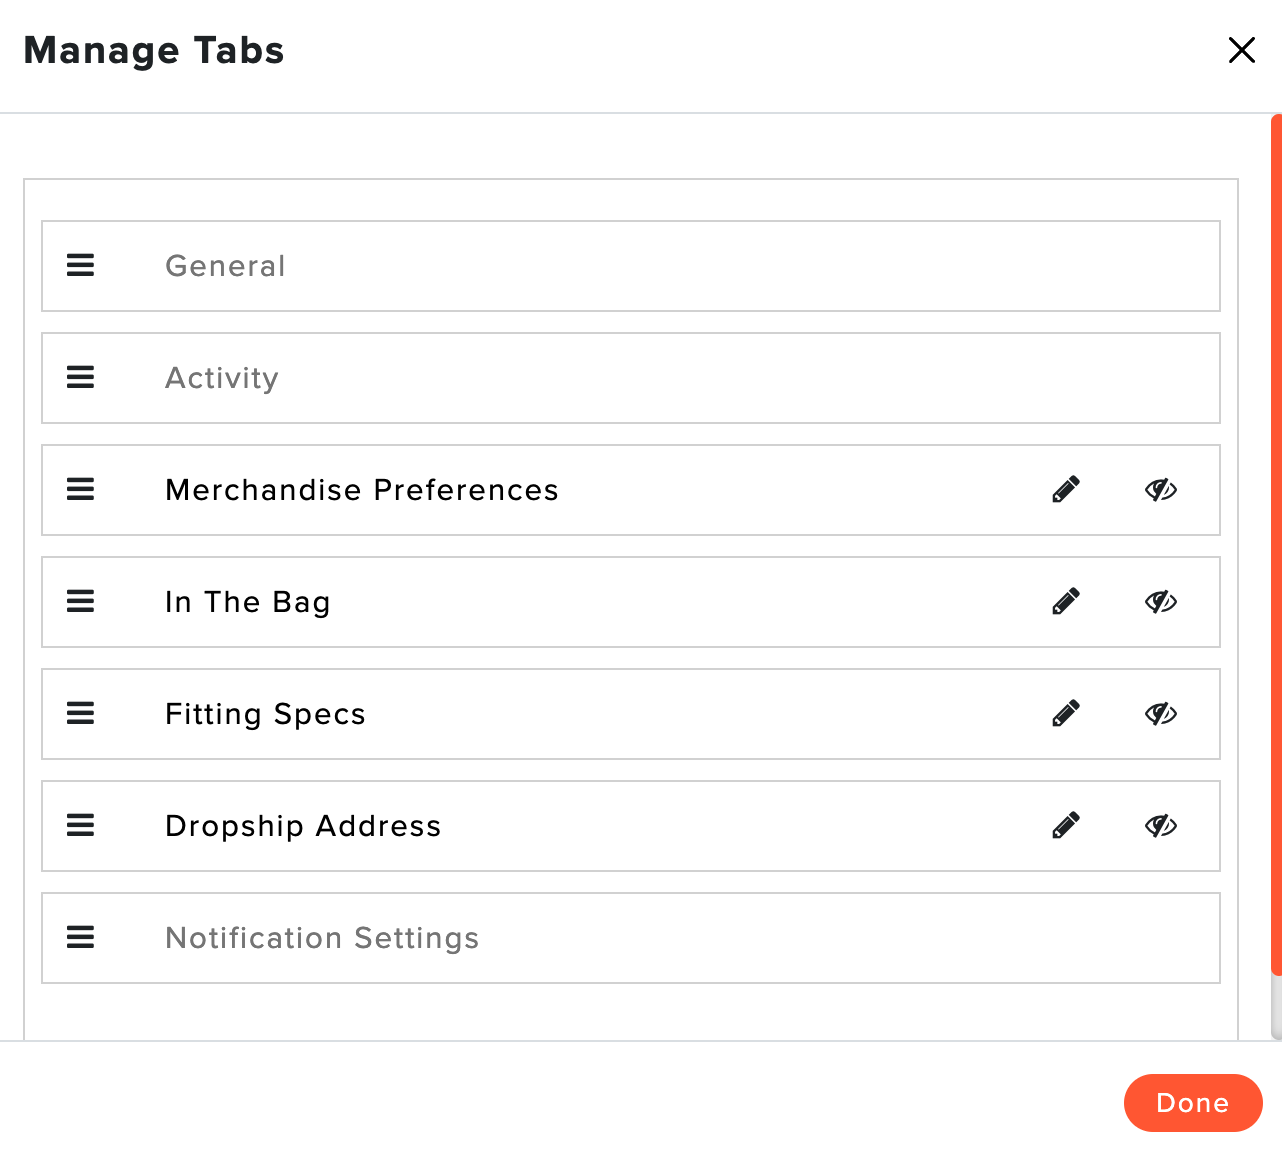
Click "Manage Tab."
Take the following actions:
Reorder Tabs: Use the slider to the left of the tab name to change the sort order of the available tabs.
Edit Names: Click the pencil button to edit a tab name. Us the green check to save the name or the red "x" to cancel the changes to the name.
Hide/Delete Tabs: To remove a tab, click the "eye" or "trash can" icon, and the tab can be removed. Note: When removing a tab, all the contents (i.e., block and fields) will be reset and you will have to use the "Add Tab" to recreate the tab.
Click "Done."
Click "Save."
To add new tabs, follow these instructions:
Click "Add Tab."
Select an Associated Profile Category (if necessary).
Edit the tile of the tab (if necessary).
Click "Save."
Click "Save" again to ensure all changes to the profile are made.
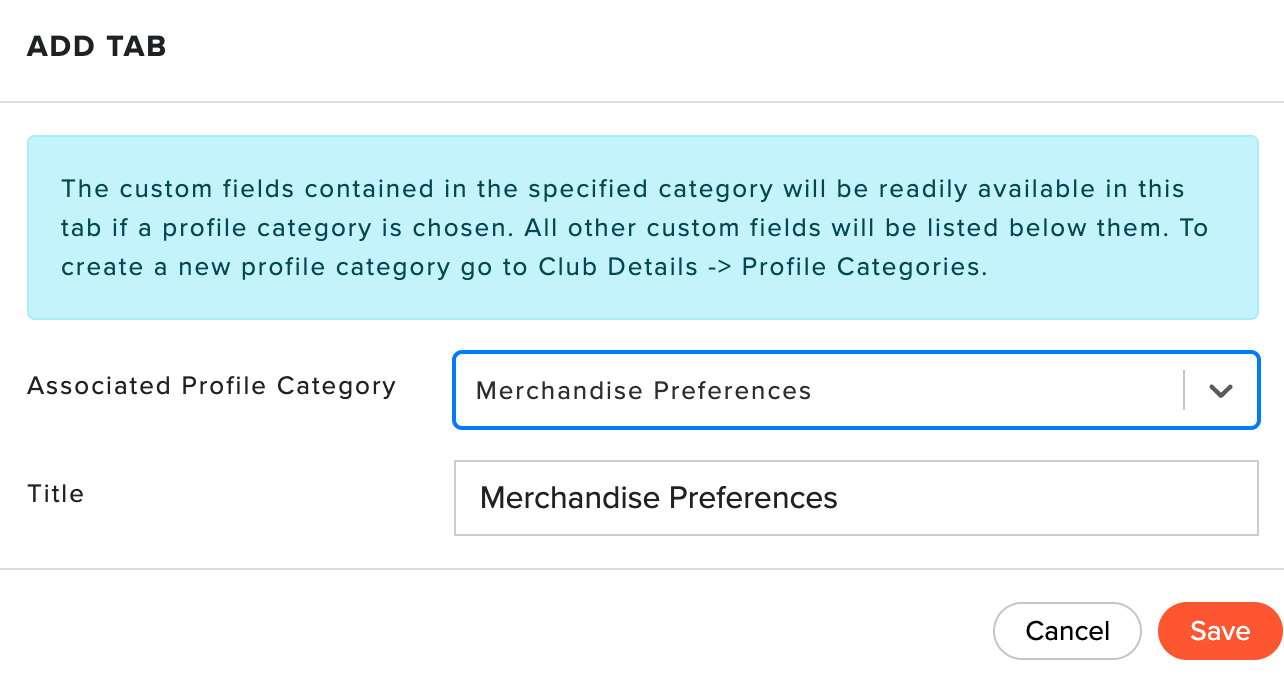
Note: Tabs do not need to be associated with a profile category. When building a tab not associated with a profile category, you can still add blocks and custom fields to the tab.
Managing Blocks
Depending on how you want to organize your member profile tabs, you can start by managing the blocks within each tabs. Blocks are collections of your Member Profile Custom Fields that allow you to further group category information on the page. Blocks are stacked vertically as they are added within a tile. You will be able to take the following actions on your blocks from within a tab page:
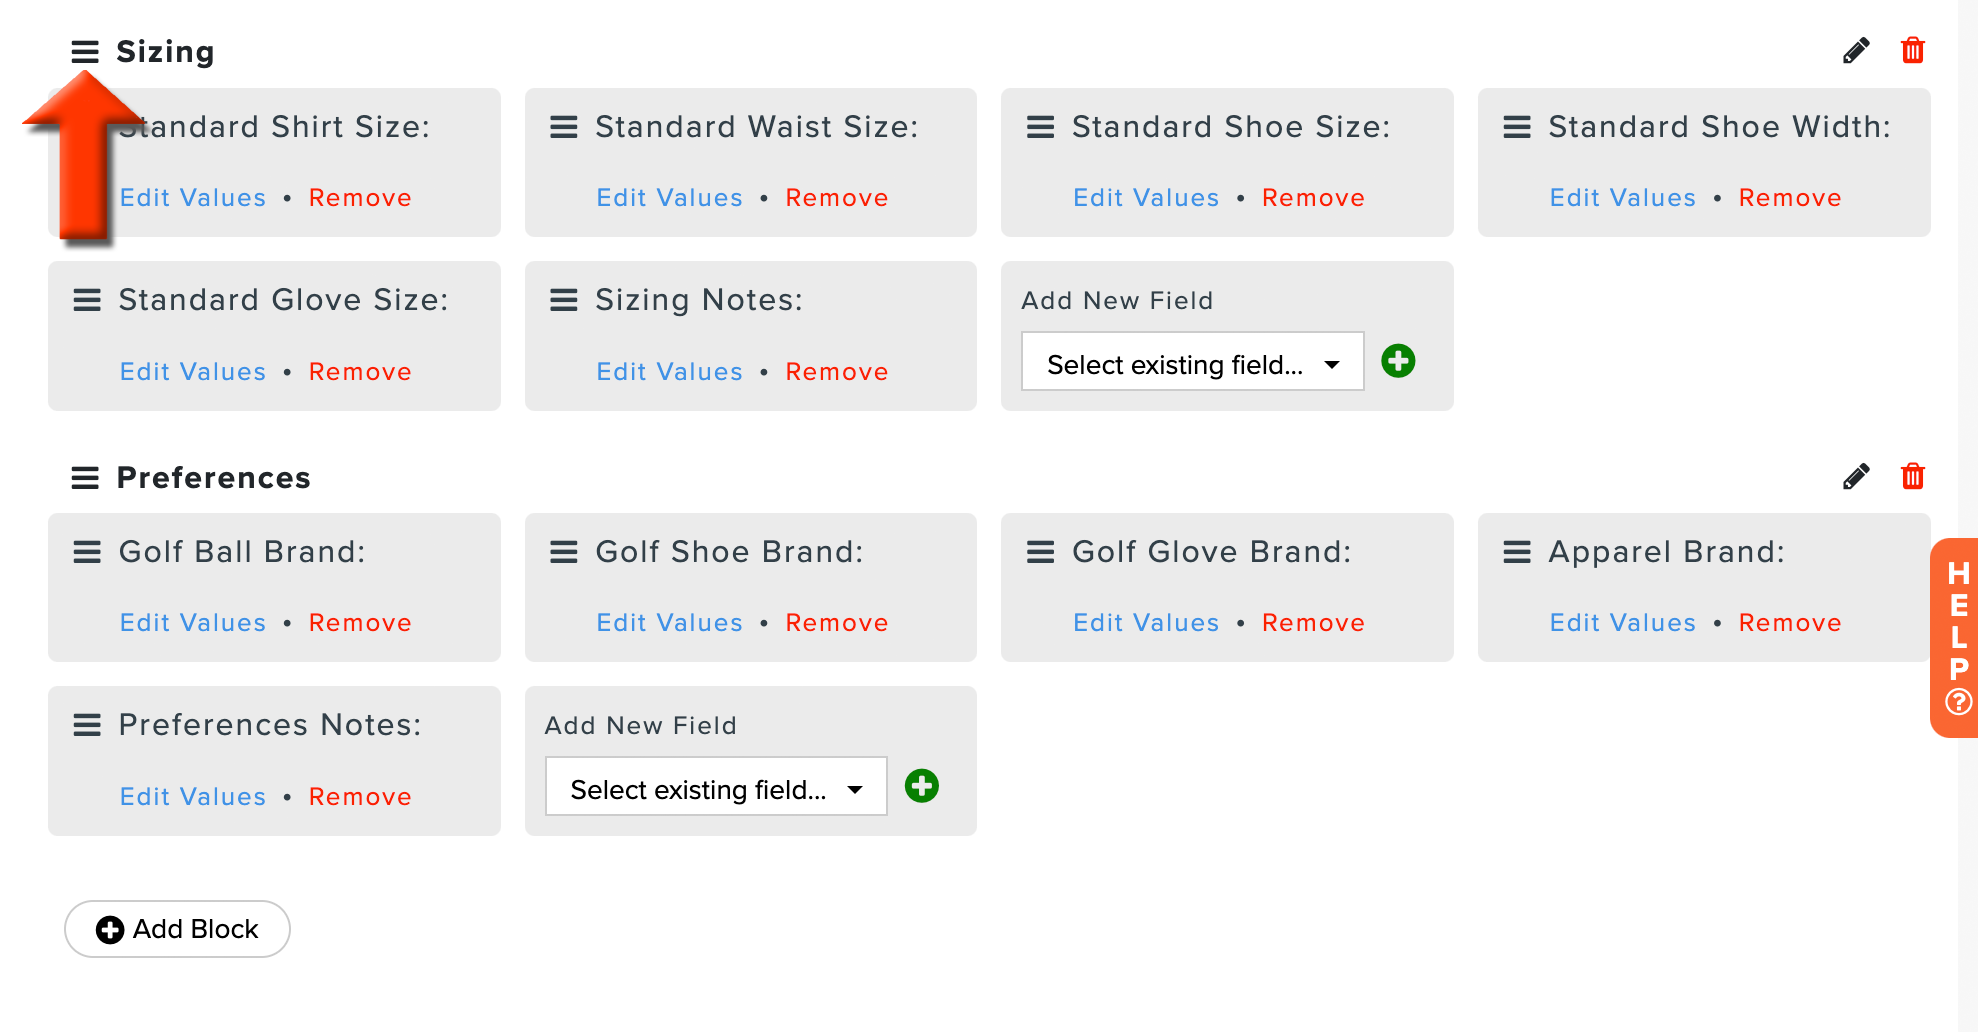
Change Sort Order: Click and drag the sort order button to change the order of the blocks (as shown below).

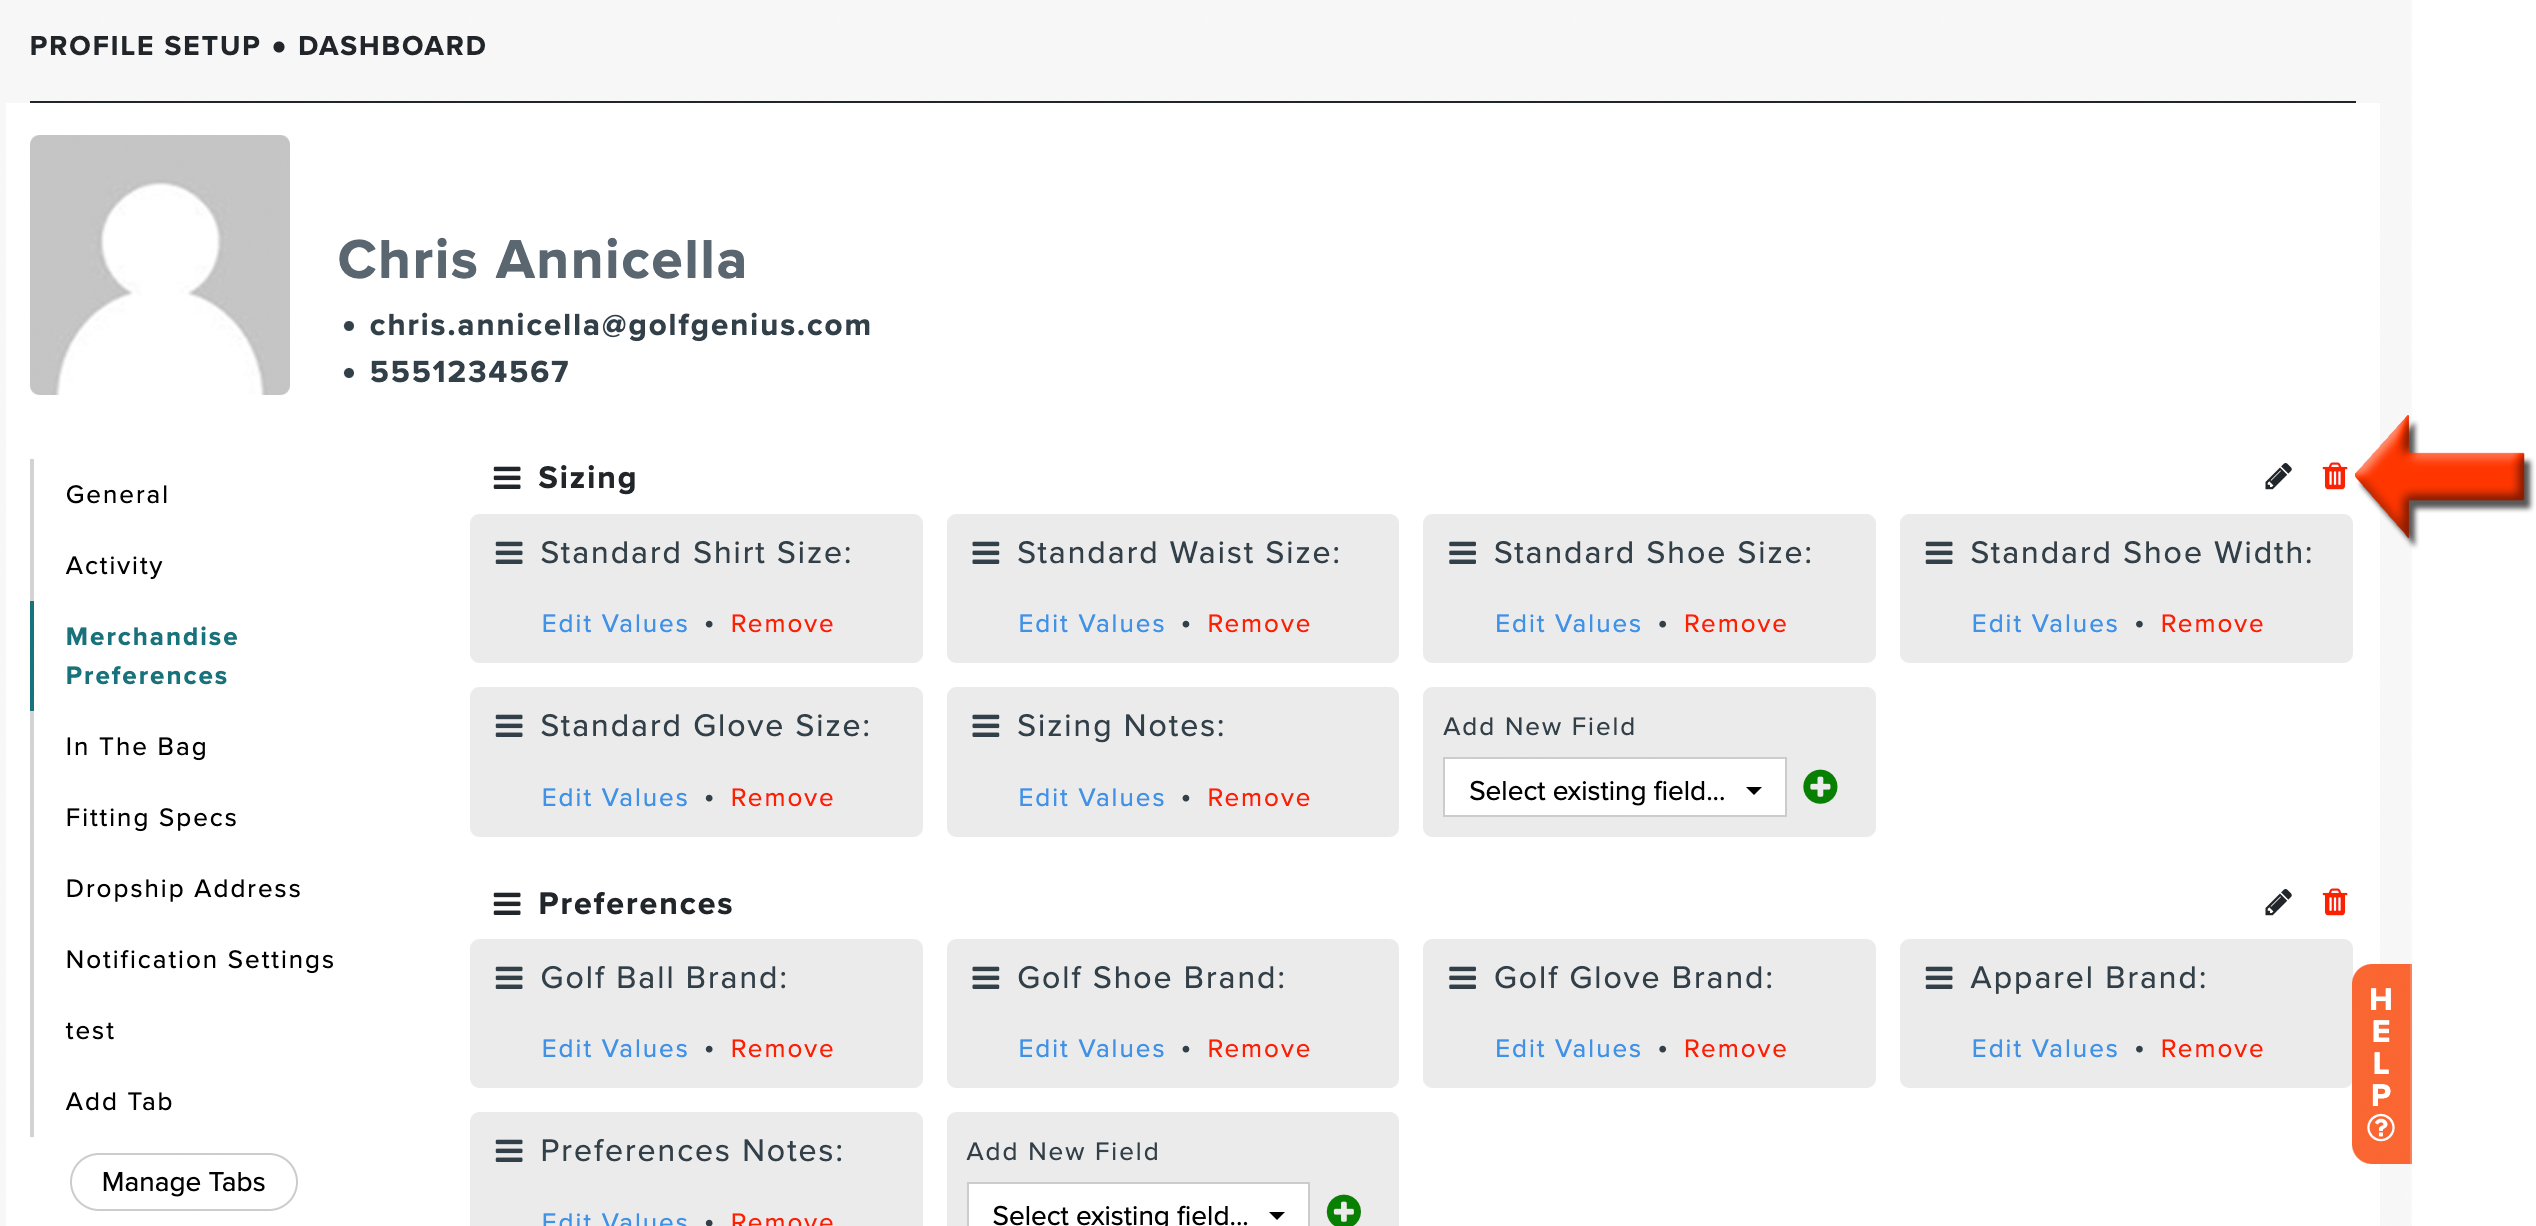
Delete Blocks: Click on the red "trash can" icon to remove a block and all of its content.

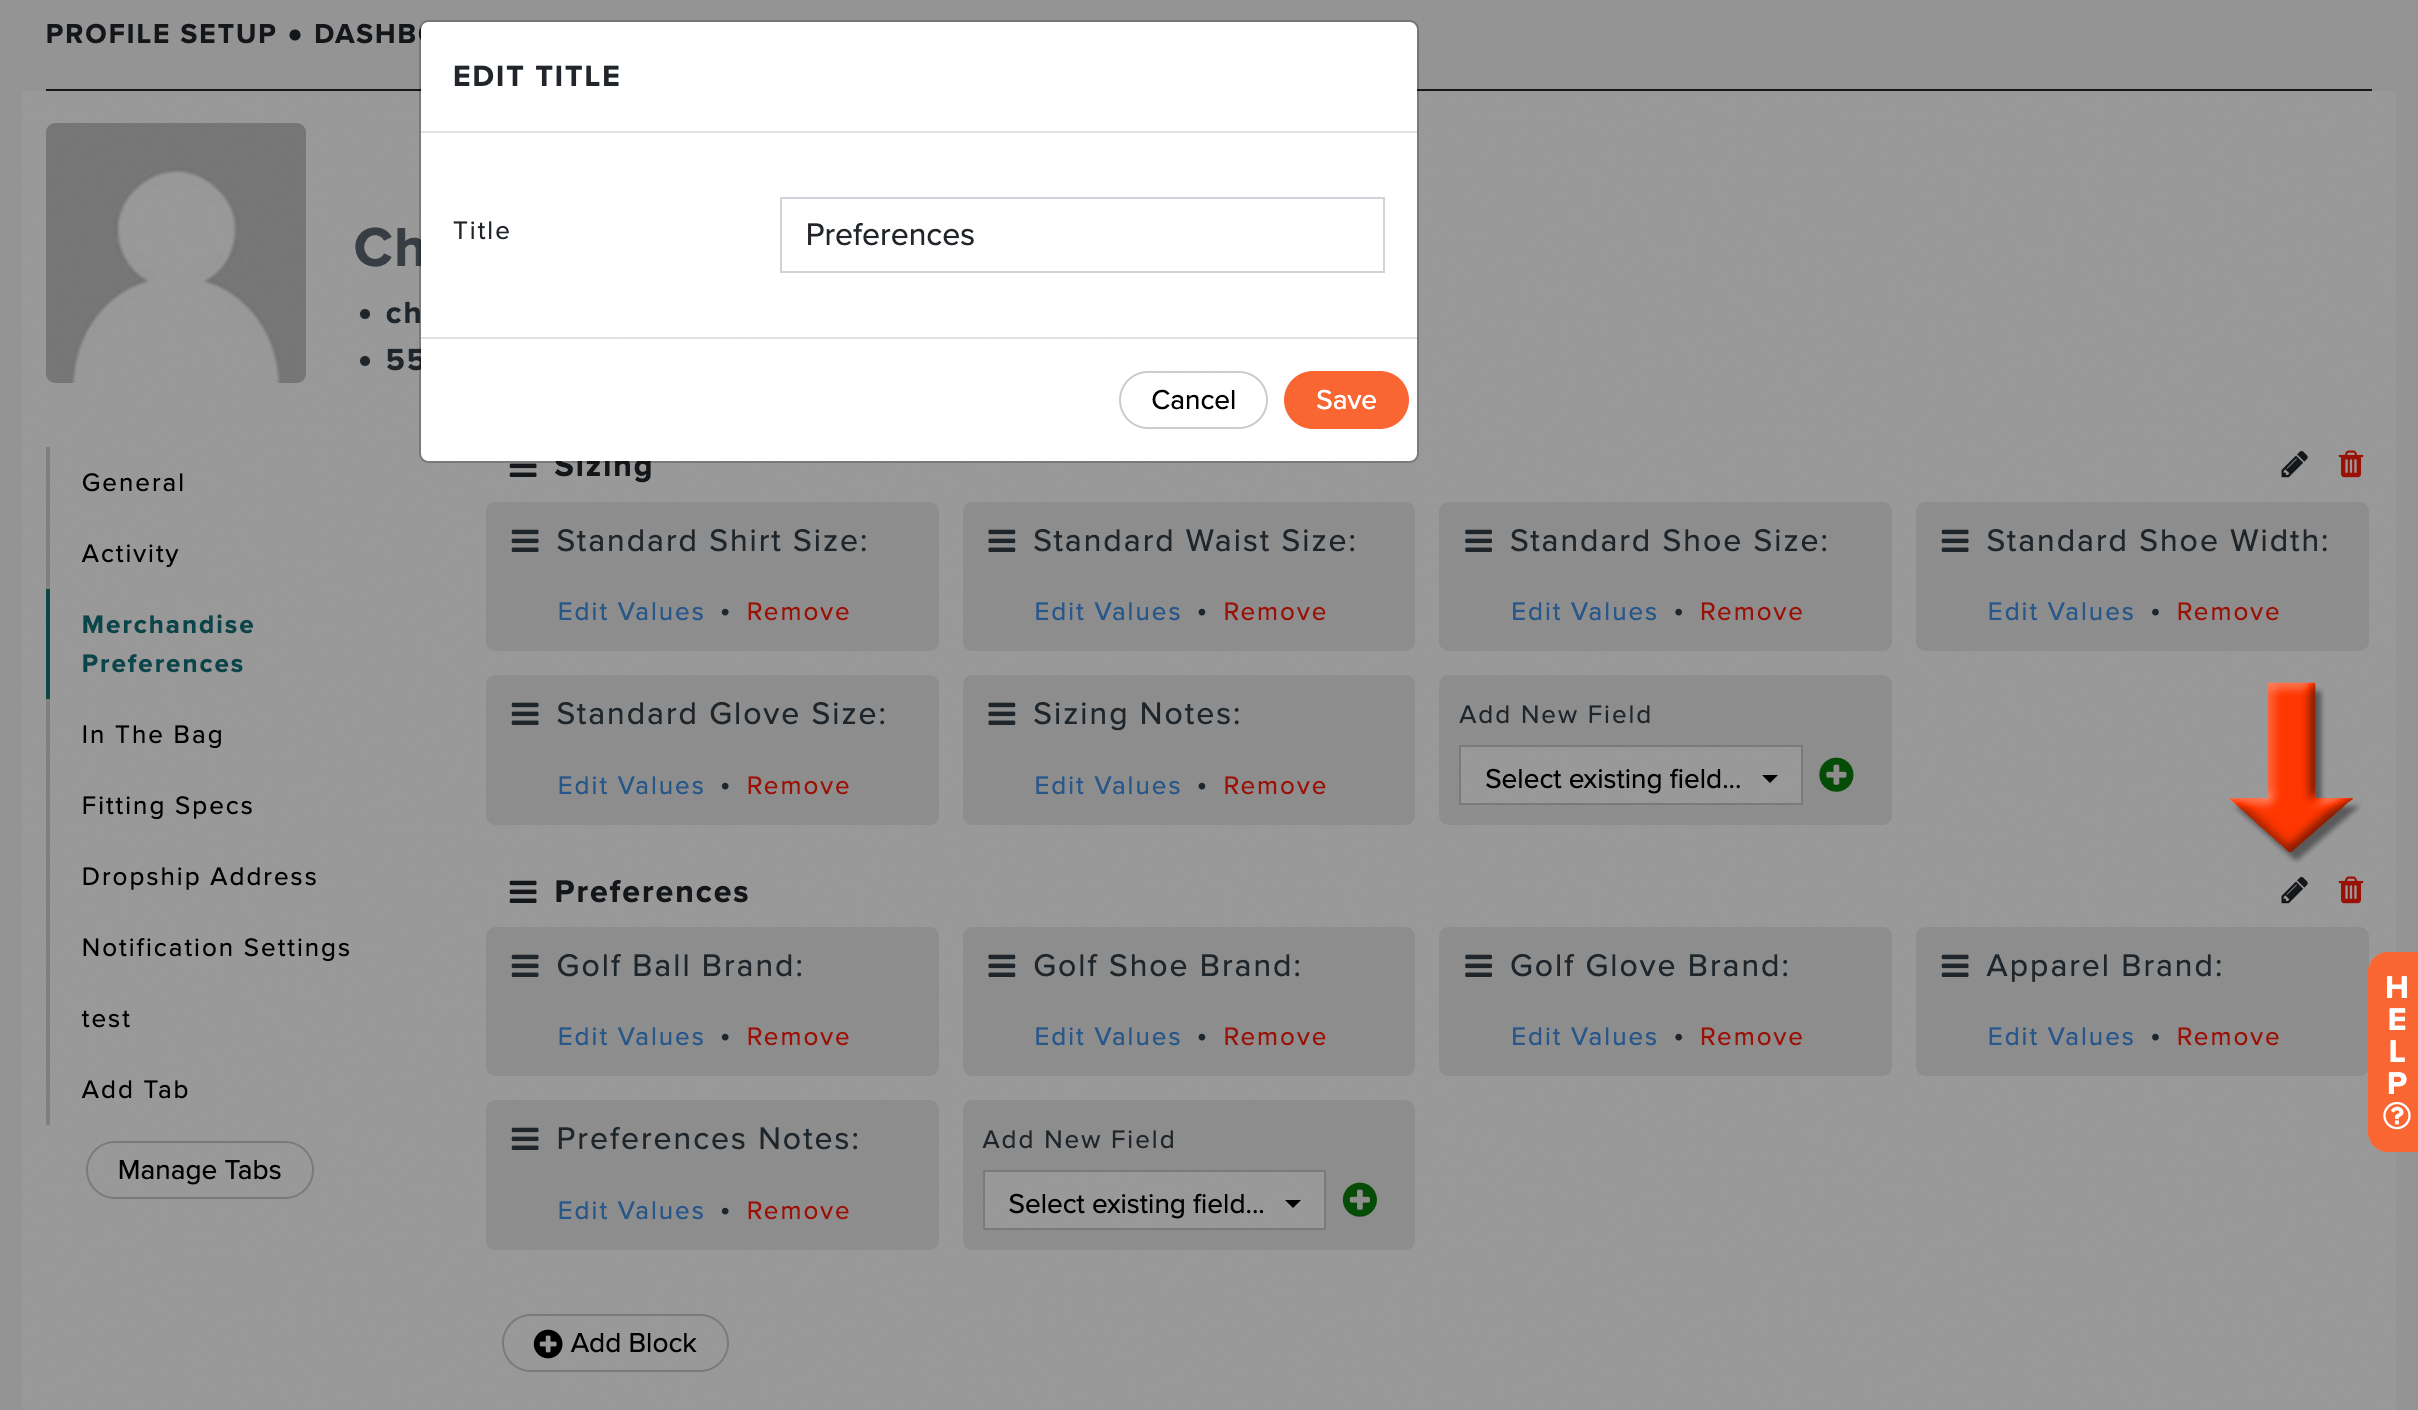
Edit Block Names: Click the pencil icon, and you can change the title of the block.

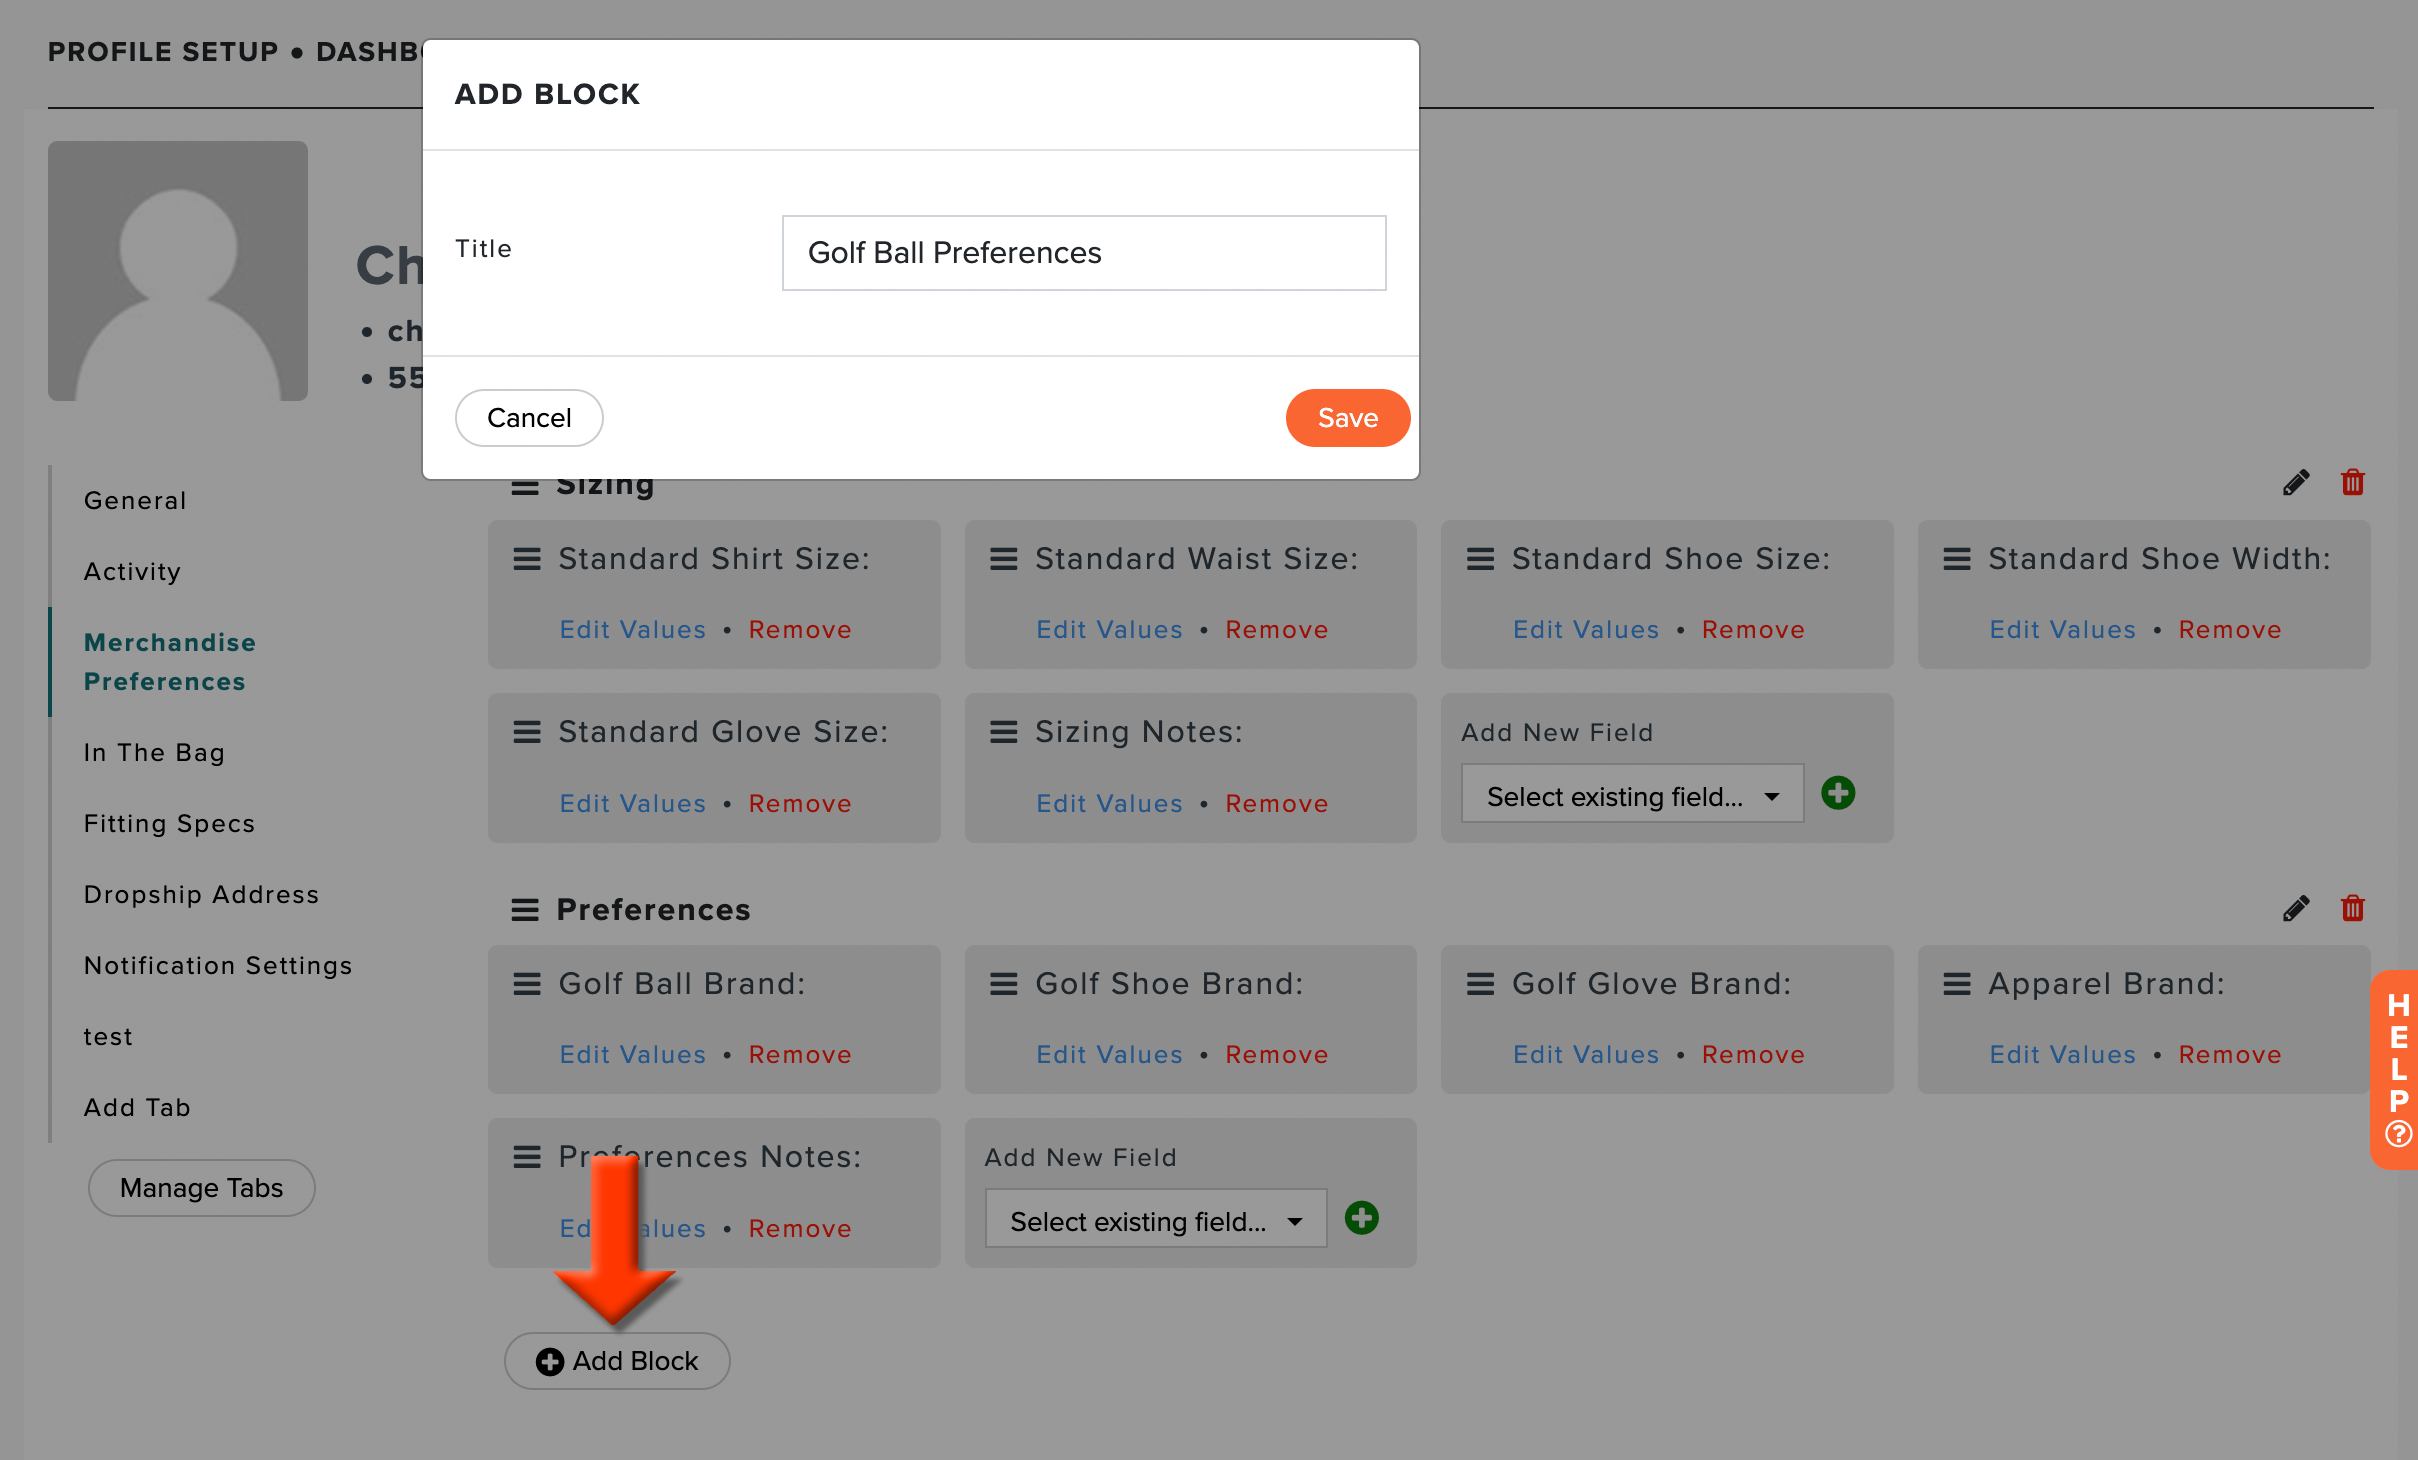
Add New Blocks: Click "Add Block" at the bottom of the page to add a new block. Add the title and click "save" to add the new block.

Note: After making any changes or before leaving the page, click "Save" to ensure all changes to the profile tab are made.
Managing Custom Fields
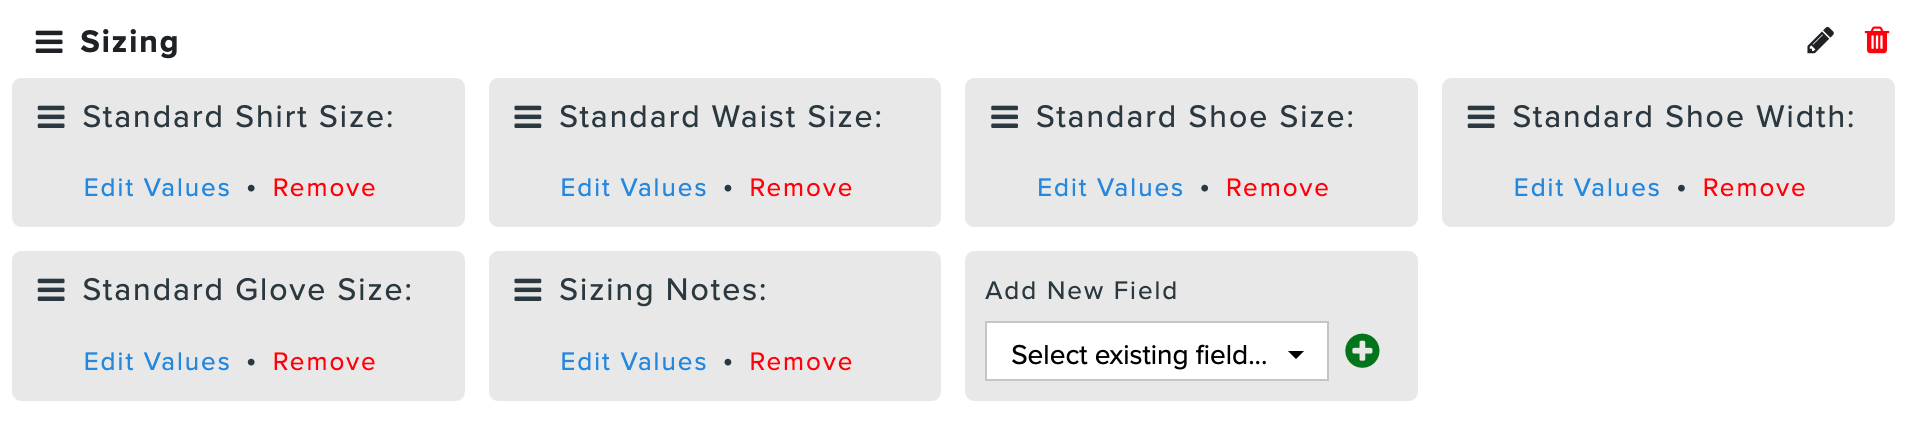
After adding blocks to your tabs, you can insert custom fields into the block. Fields are stacked horizontally and then vertically (as necessary) as they are added within a block (as shown below).
To add a custom field, following these directions:
Within a block and under "Add New Field," you will have the option to:
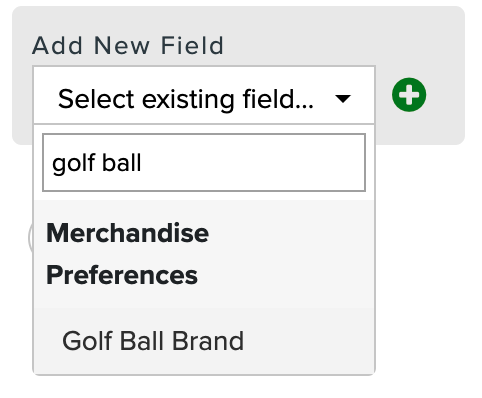
Add Existing Field:
Use the drop down to select an existing Custom Fields. You can us the search bar to find a specific field (as shown below).

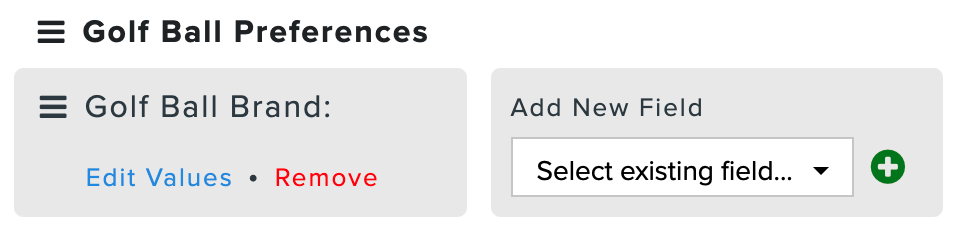
Select the field, and it will be added to the block.

Repeat the steps as necessary to add other existing fields.
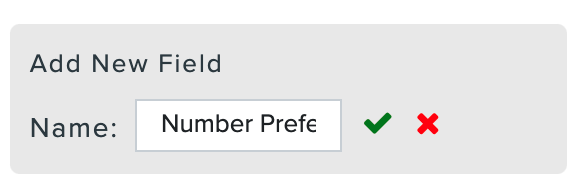
Add New Field:
Click the green "plus" icon to add a new field.
Enter the Name of the new field.

Click the green check to save the field or the red "x" to cancel adding the field.

Repeat the steps as necessary to add other new fields.
Click "Save" to ensure all changes to the profile tab are made.

You will be able to take the addtional following actions to any added custom field:
Change Sort Order: Click and drag the sort order button to change the order of the field (as shown below).

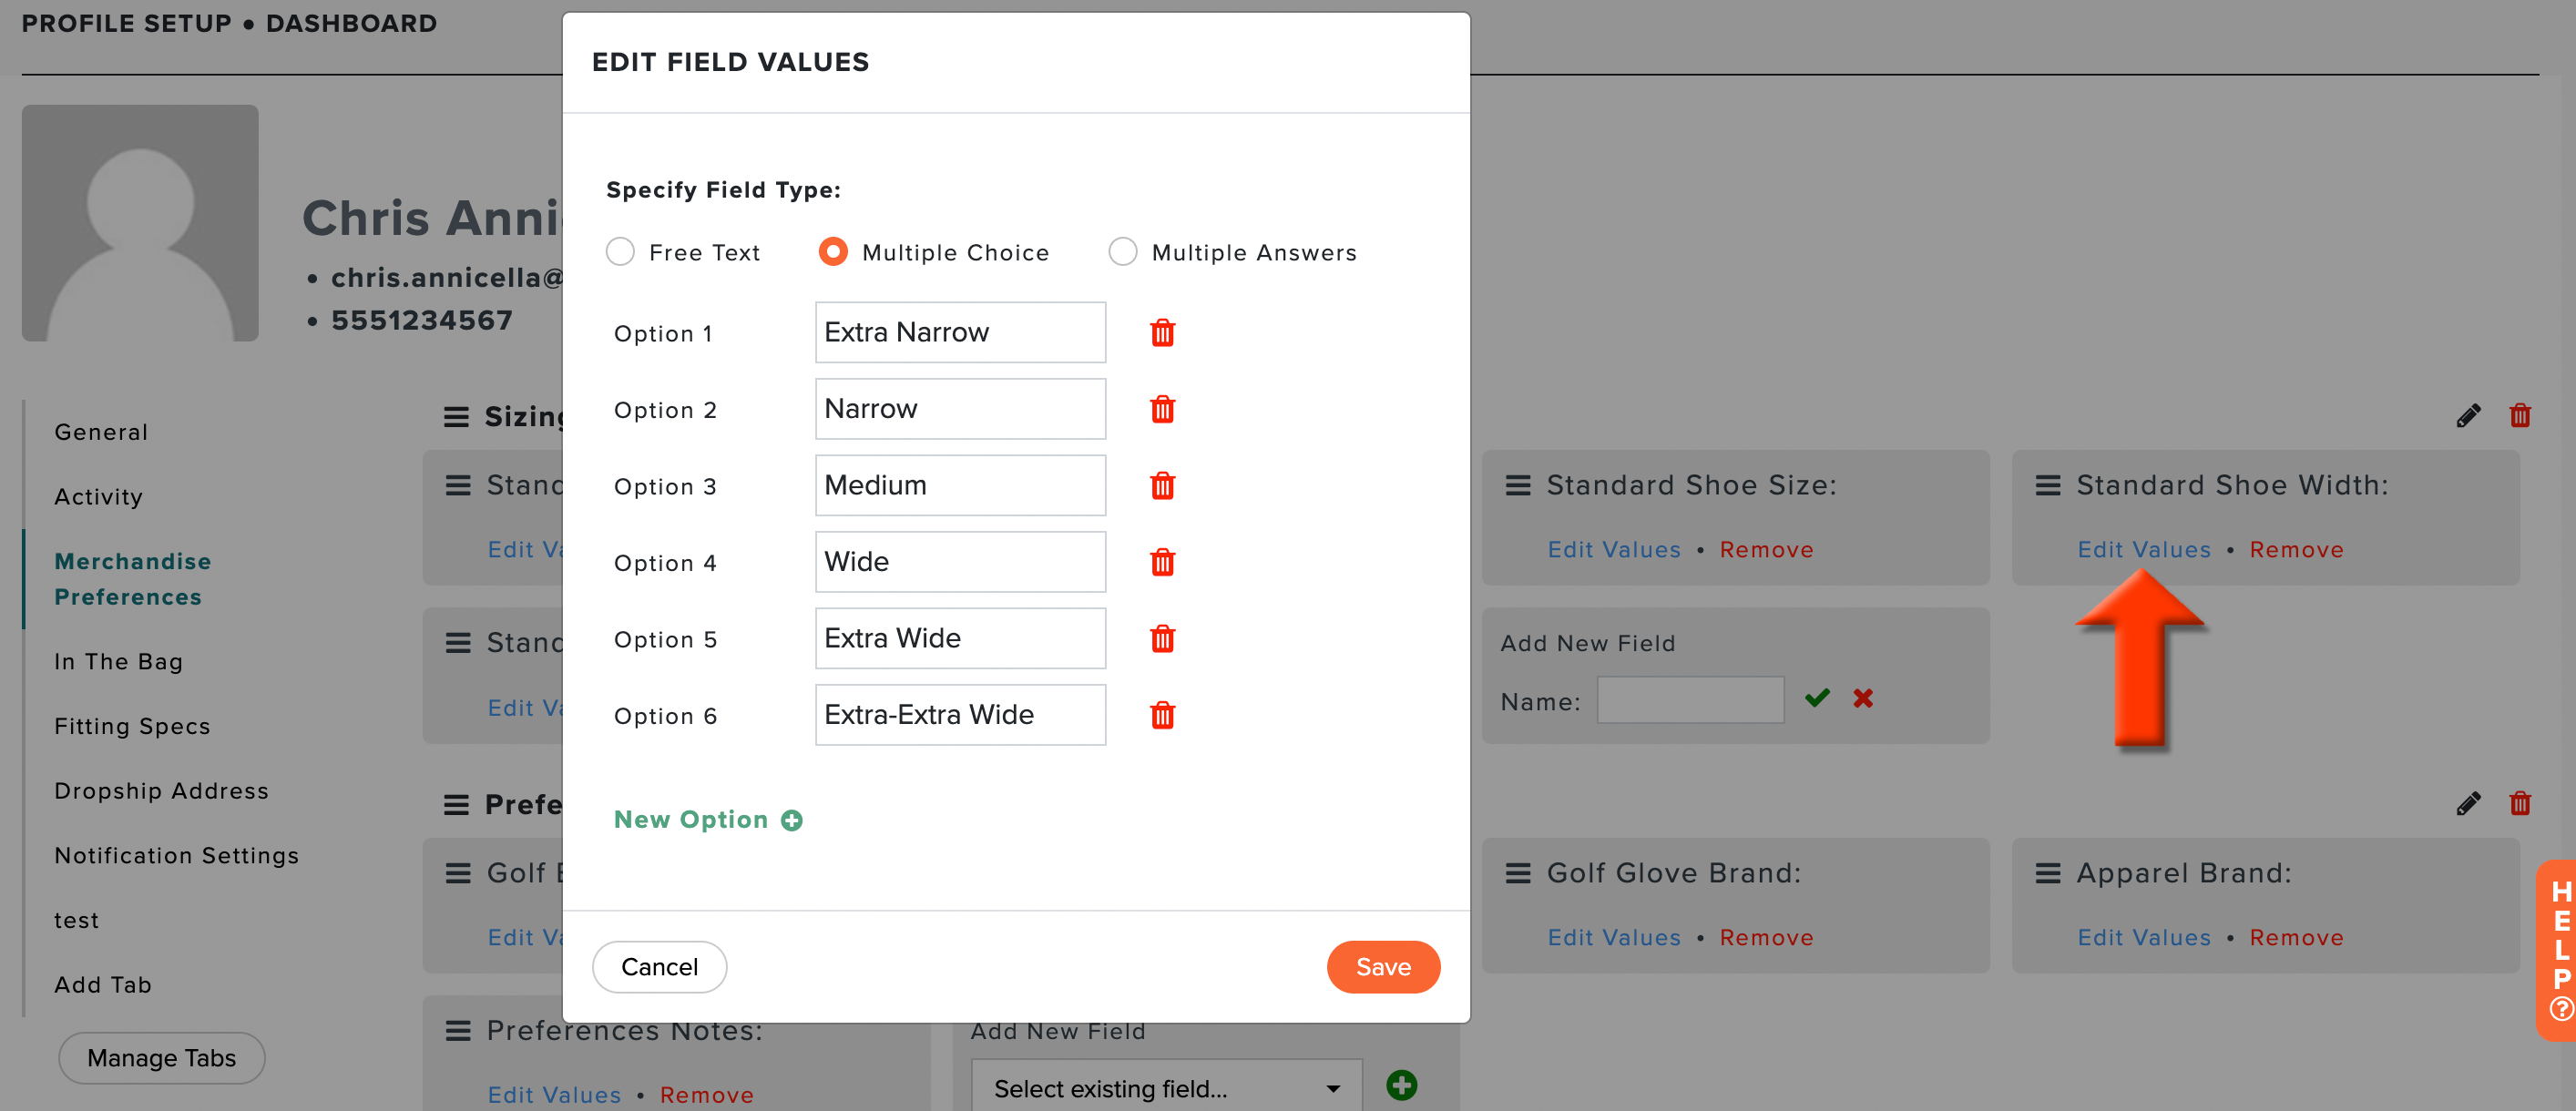
Edit Values: Click "Edit Values" and you can edit the field type and values of the custom field. The following field types are available:
Free text: Members can enter any text.
Multiple Choice: Members can select only one answer.
Multiple Answers: Members can choose multiple answers.
For multiple-choice or multiple-answers, you must specify 2 or more possible values by clicking "New Option."

Remove: Click, "Remove," and you can remove the custom field from the block.