
In order to place special orders, create stock orders, add inventory to online order froms, send out club repair, you must add your vendor list.
The vendor list contains a combination of standard fields (e.g., vendor name, website, account number, etc.) and custom fields (e.g., sales rep name, sales rep cell phone, etc.). For more details on custom fields, Click Here.
In this article, we will discuss managing your vendor roster, viewing vendor information, changing vendor information, and adding new vendors.
Uploading a Vendor Roster
Your initial vendor list should have been uploaded for you during your onboarding process. If you would like to upload a vendor list on your own, you can upload vendors via a spreadsheet, for details, Click Here.
Viewing Vendor Roster
After the vendor roster is uploaded, it can be viewed on a browser or the mobile app. Click Here for more details about viewing and updating the roster on the mobile app. With your vendor roster now established, you can select a vendor to place special orders, stock orders, add inventory to online order forms, and more.
You can view your vendor list by going to Club Details > Vendors > Roster (as shown below).
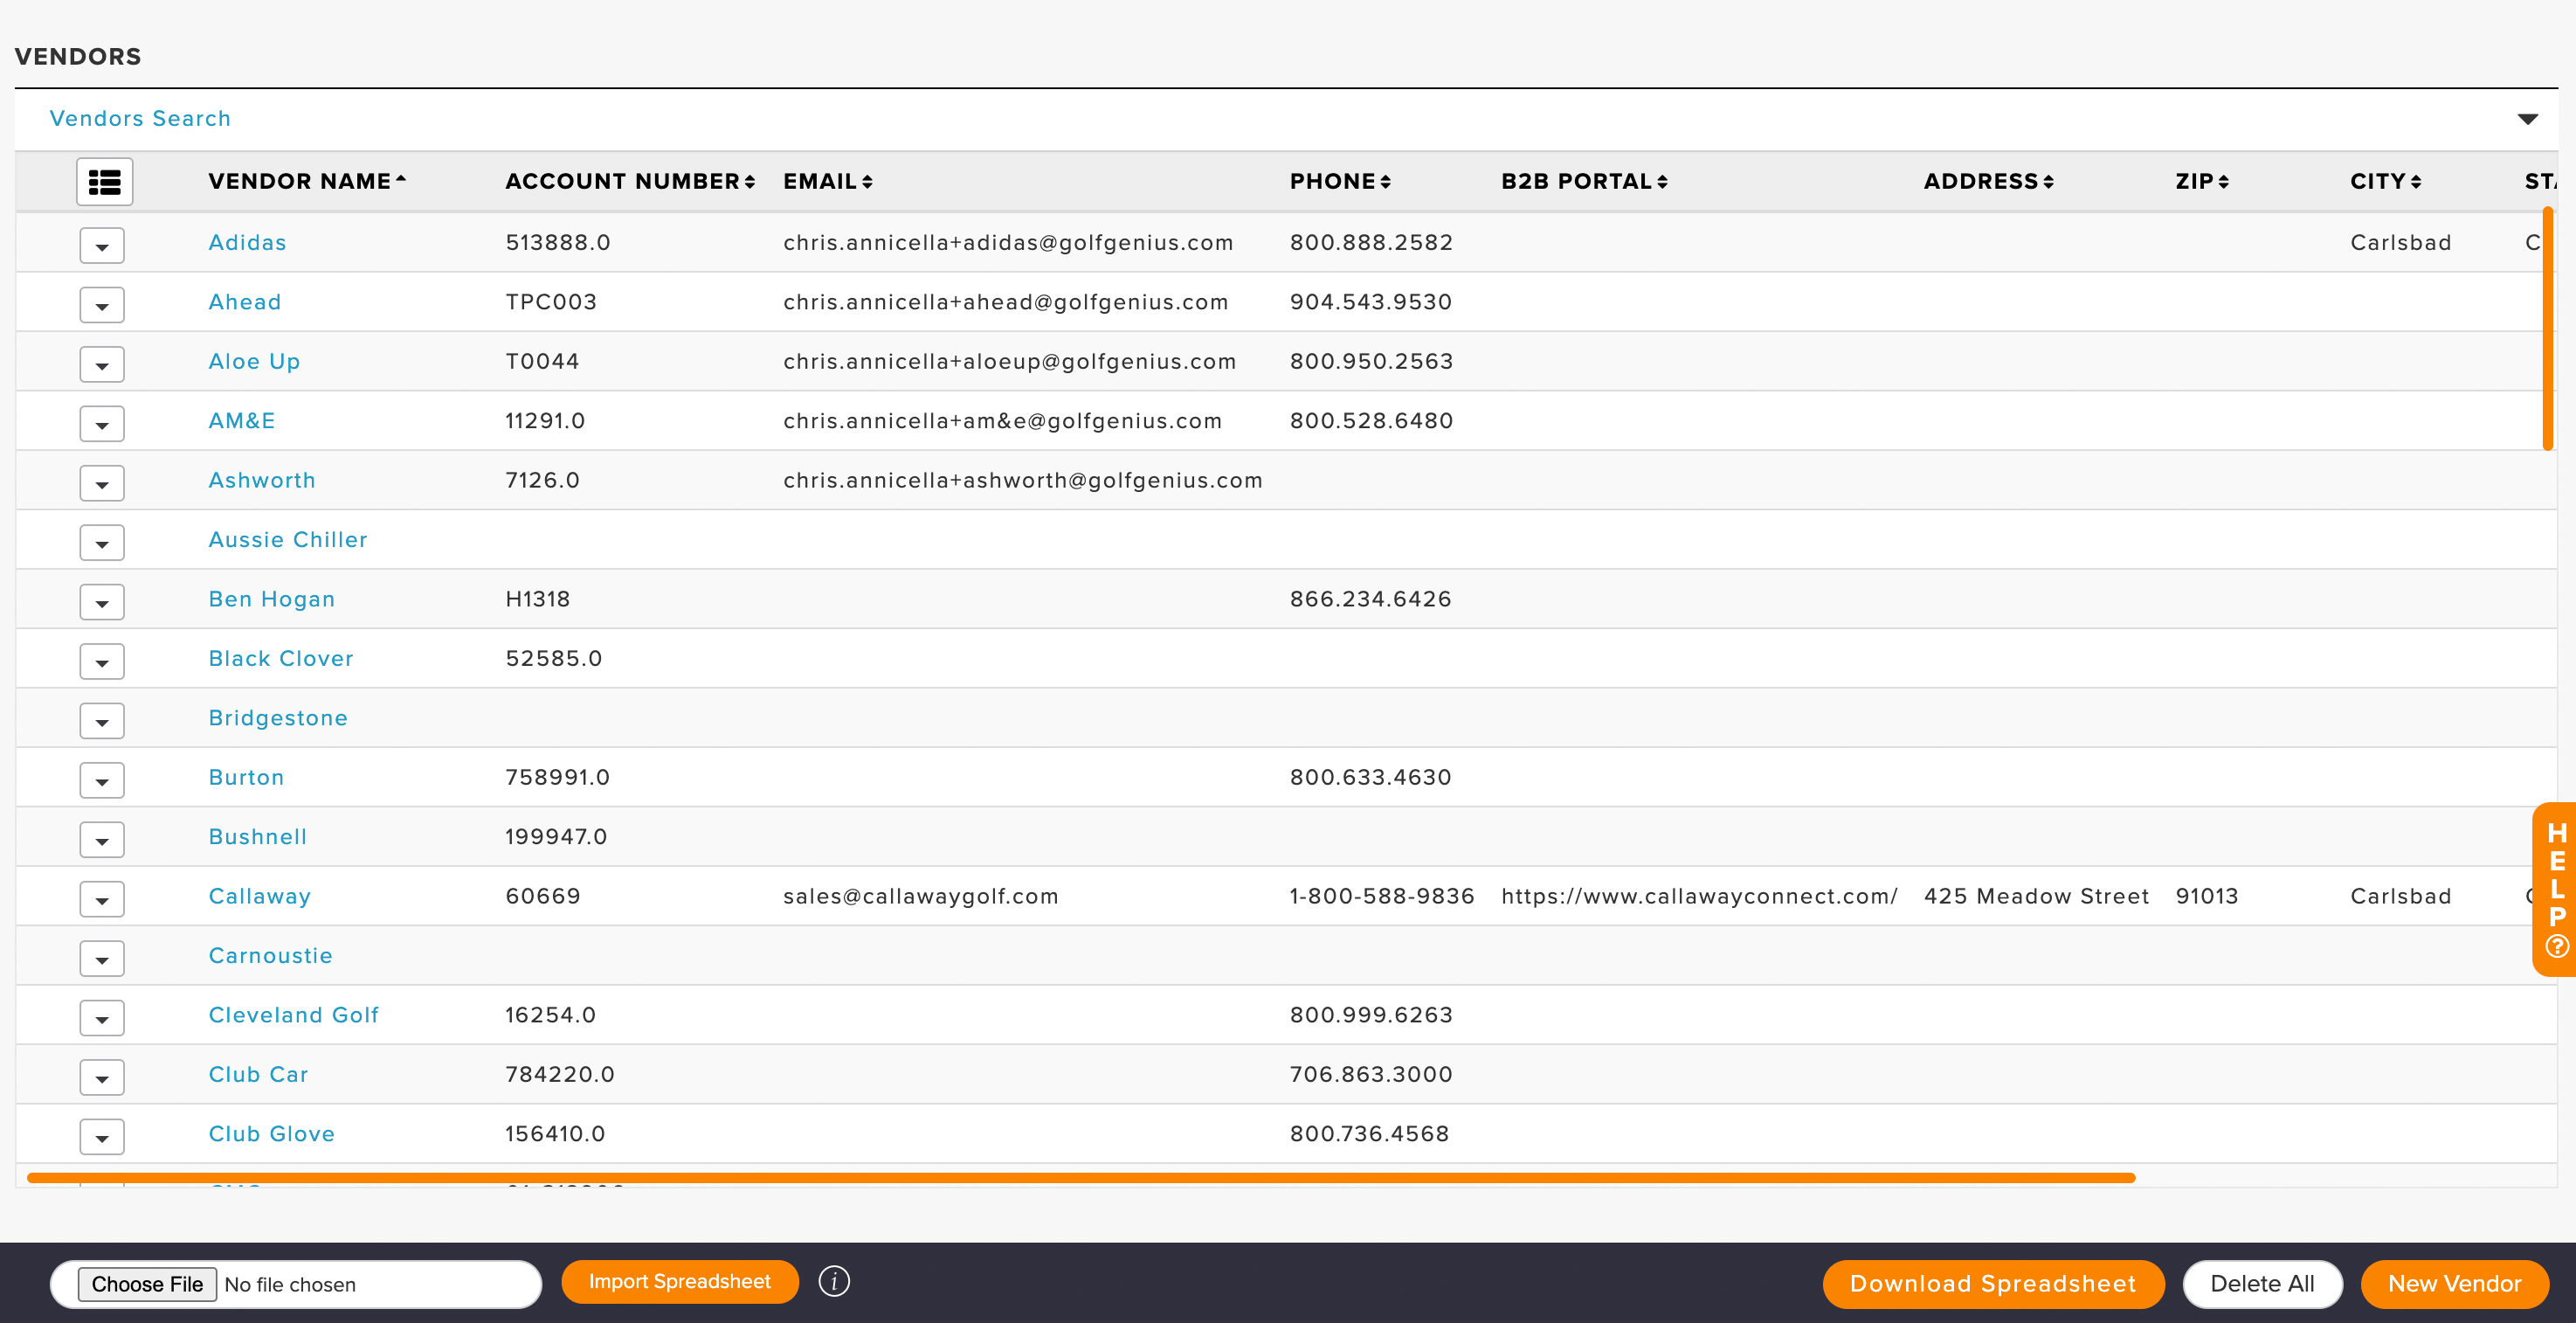
For more details about the vendor roster dashboard, Click Here.